

Create Terraria Pixel Art from an Image
Turn an image into Terraria tiles, use Real Art to reproduce more colors with paint, and check how the finished build will look in the game.

The Pixel Art tool turns an image from your computer into a build made from Terraria tiles. You can use it for logos, characters, signs, or larger artwork without matching every tile by hand.
Before editing a world you care about, make a copy of its .wld file. A large image can place thousands of tiles at once, so keep an untouched backup.
Step 1: Open the Pixel Art tool
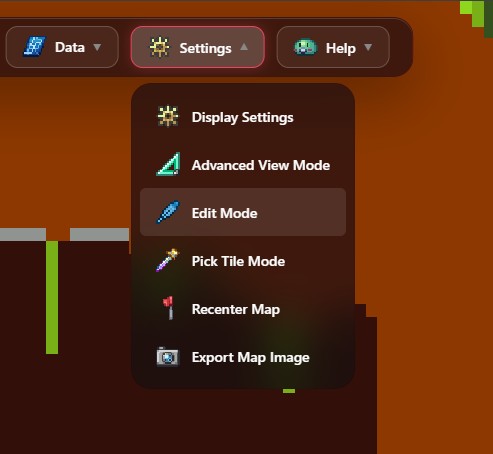
Load your world in TerraWorld Editor, then open Edit Mode.
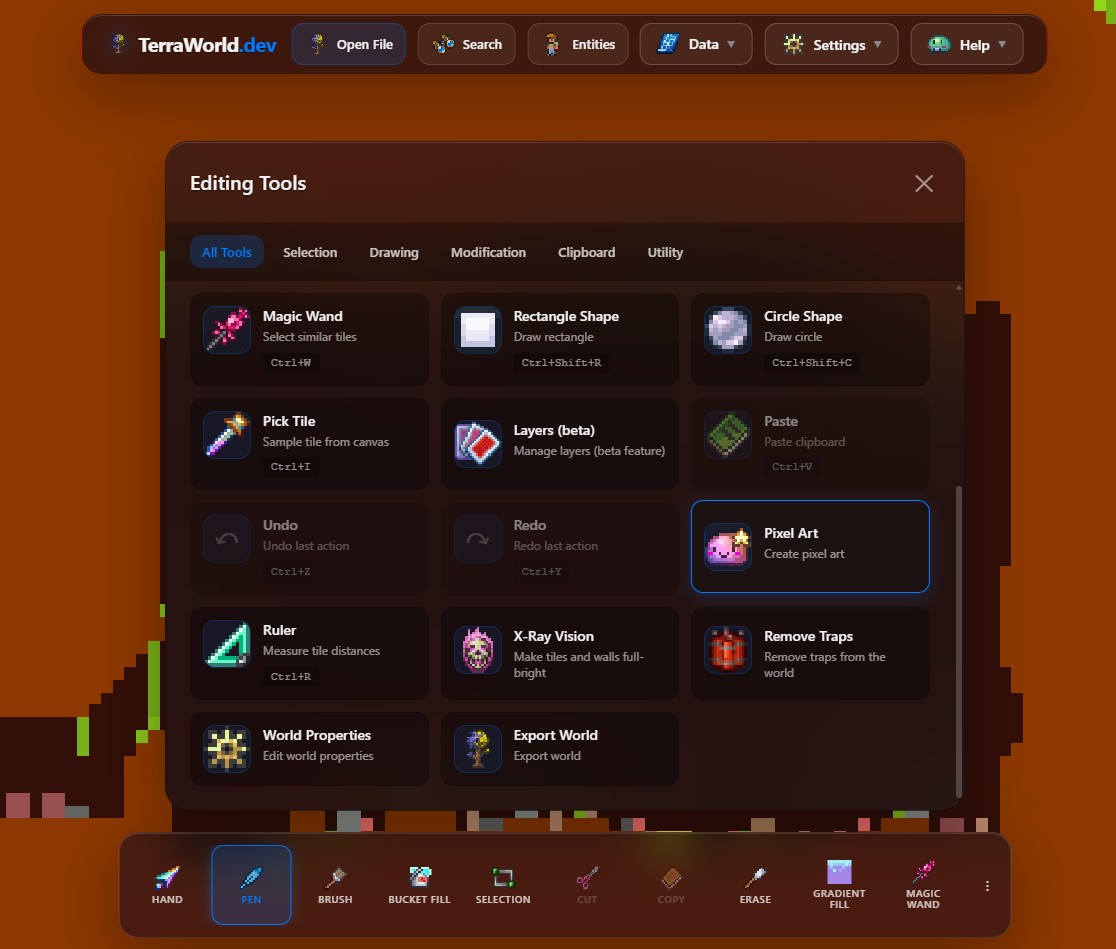
Select Pixel Art from the list of editing tools.
Step 2: Choose an image and set its size
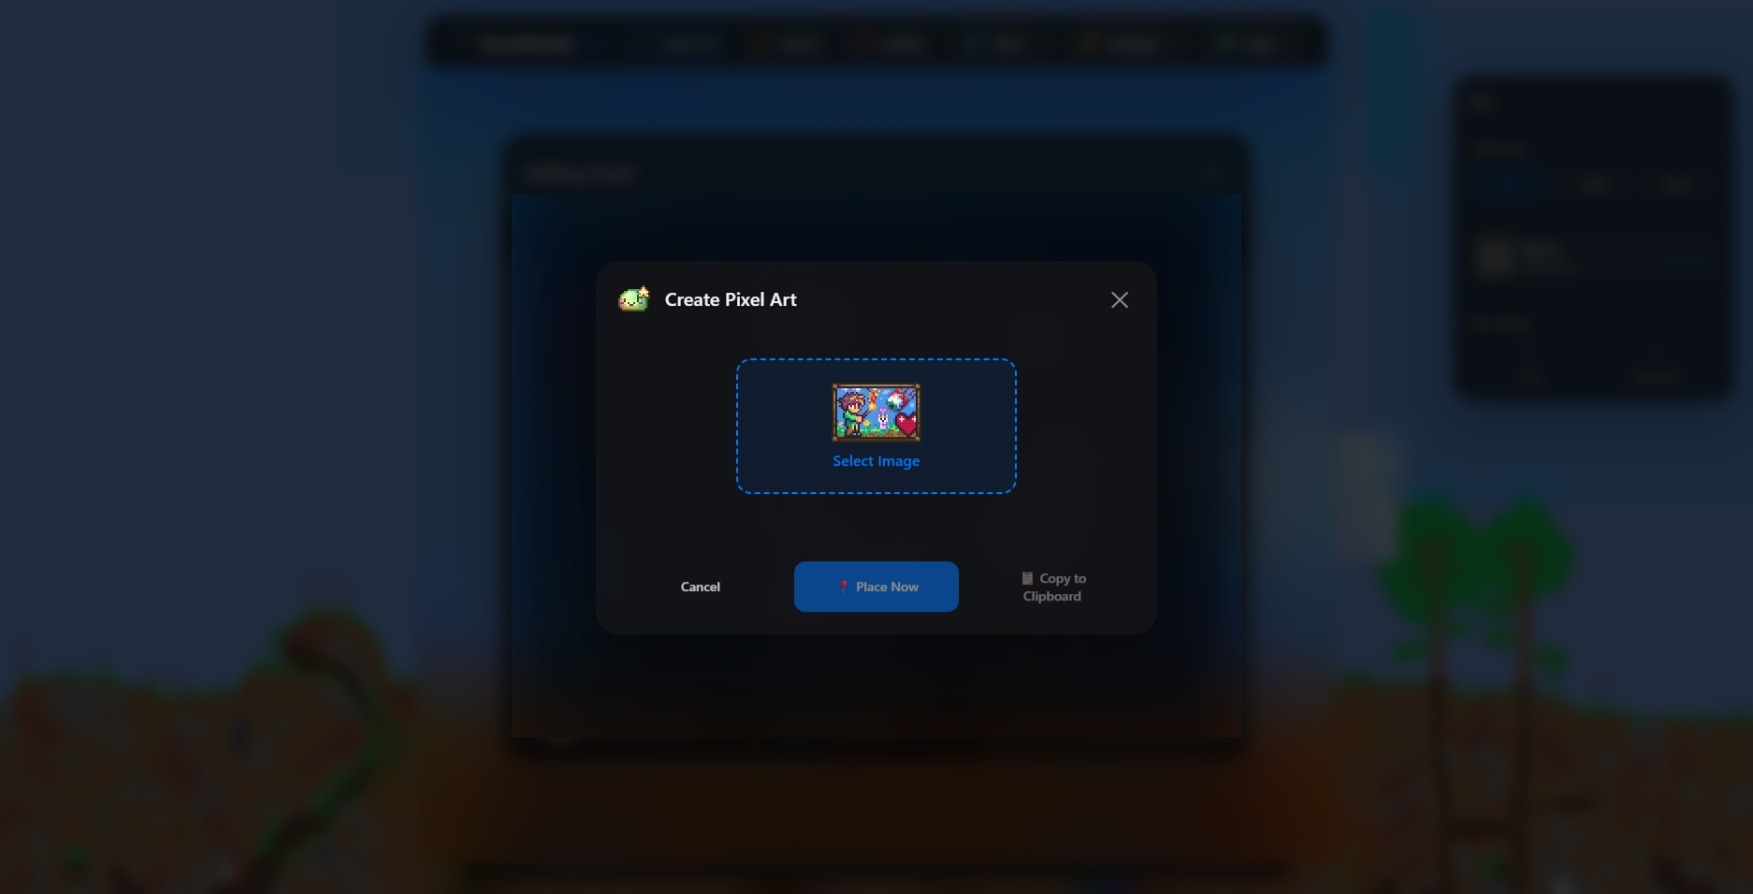
Click Choose image and select a PNG, JPEG, WebP, or GIF file. Images with a clear outline usually survive the conversion better than photographs full of tiny details.
When the image is first loaded, the tool keeps its proportions and scales it down so its longest side is no more than 256 tiles. W and H are the number of Terraria tiles in the finished build, not the preview size. You can set each value from 8 to 256, then click Apply.
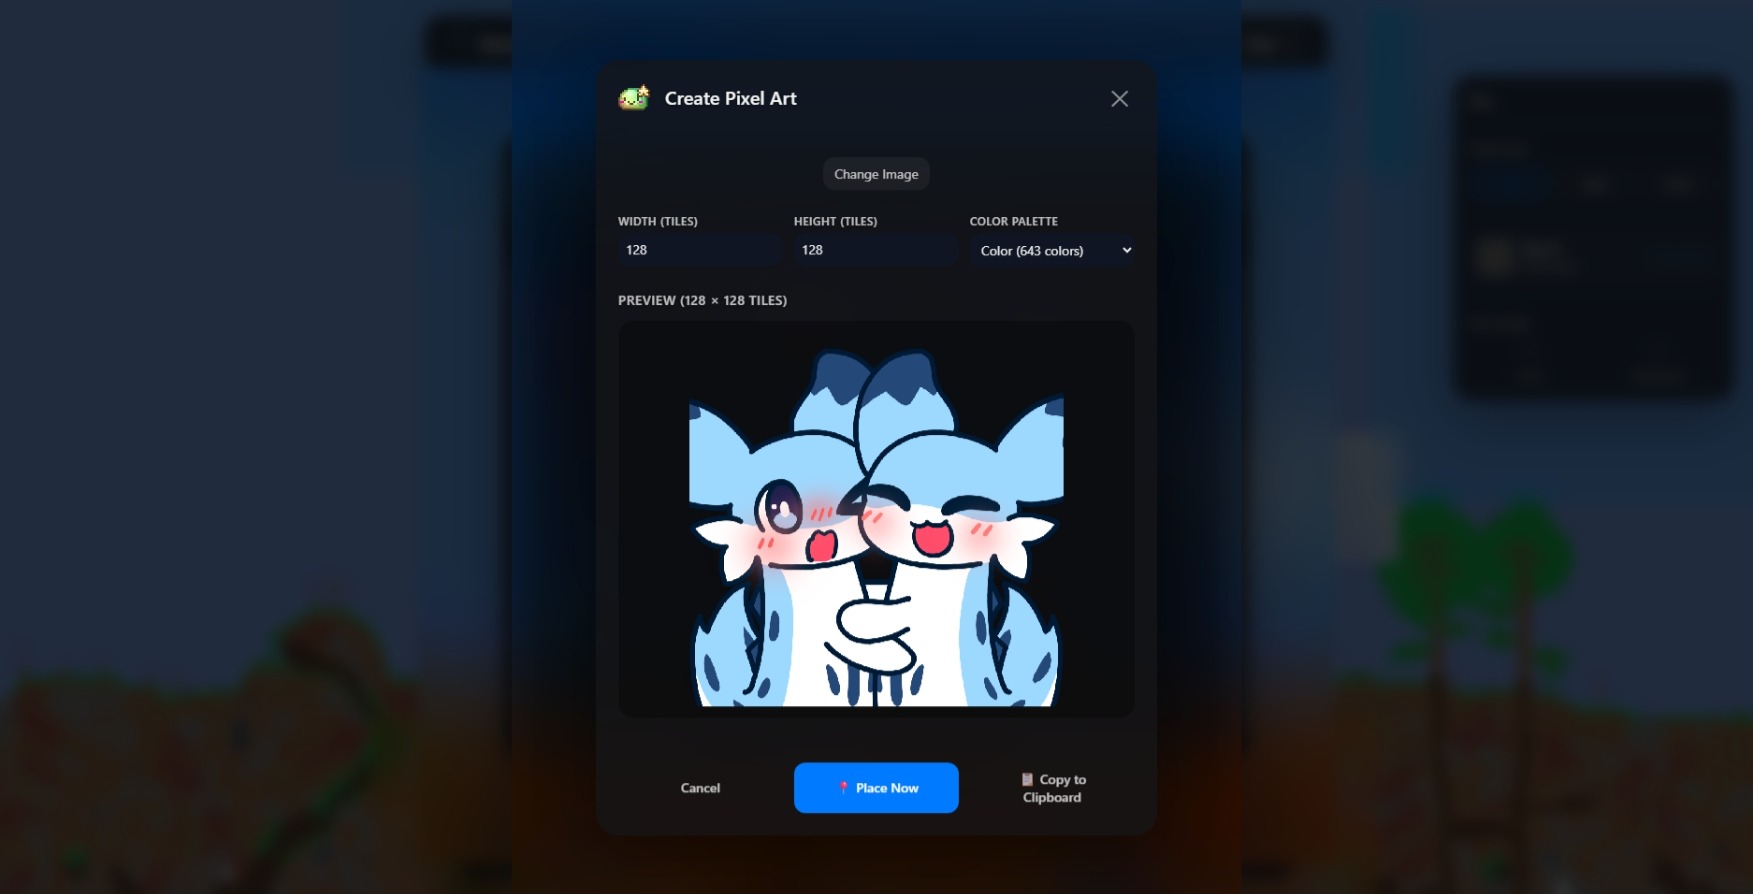
Start with a small version if you are unsure. Increasing both dimensions creates many more tiles and takes longer to process. With a large image, the browser may briefly say the page is not responding. If the conversion is still running, choose Wait and give it time to finish.
Step 3: Choose Color or Grayscale
Color finds the closest available color for each pixel. Grayscale matches pixels by brightness instead, which is useful for monochrome art or when the shape matters more than the original colors.
Check the preview after changing the palette. Faces, lettering, and thin lines can disappear when an image is reduced, so try simplifying the source or increasing the output size a little.
Use Real Art for a result that works outside the minimap
Terraria tiles have a limited set of natural colors. In normal mode, the tool chooses tiles whose base colors are close to the image. This can look convincing on the minimap, but the actual tile textures may make the artwork harder to recognize when you stand next to it in the game.
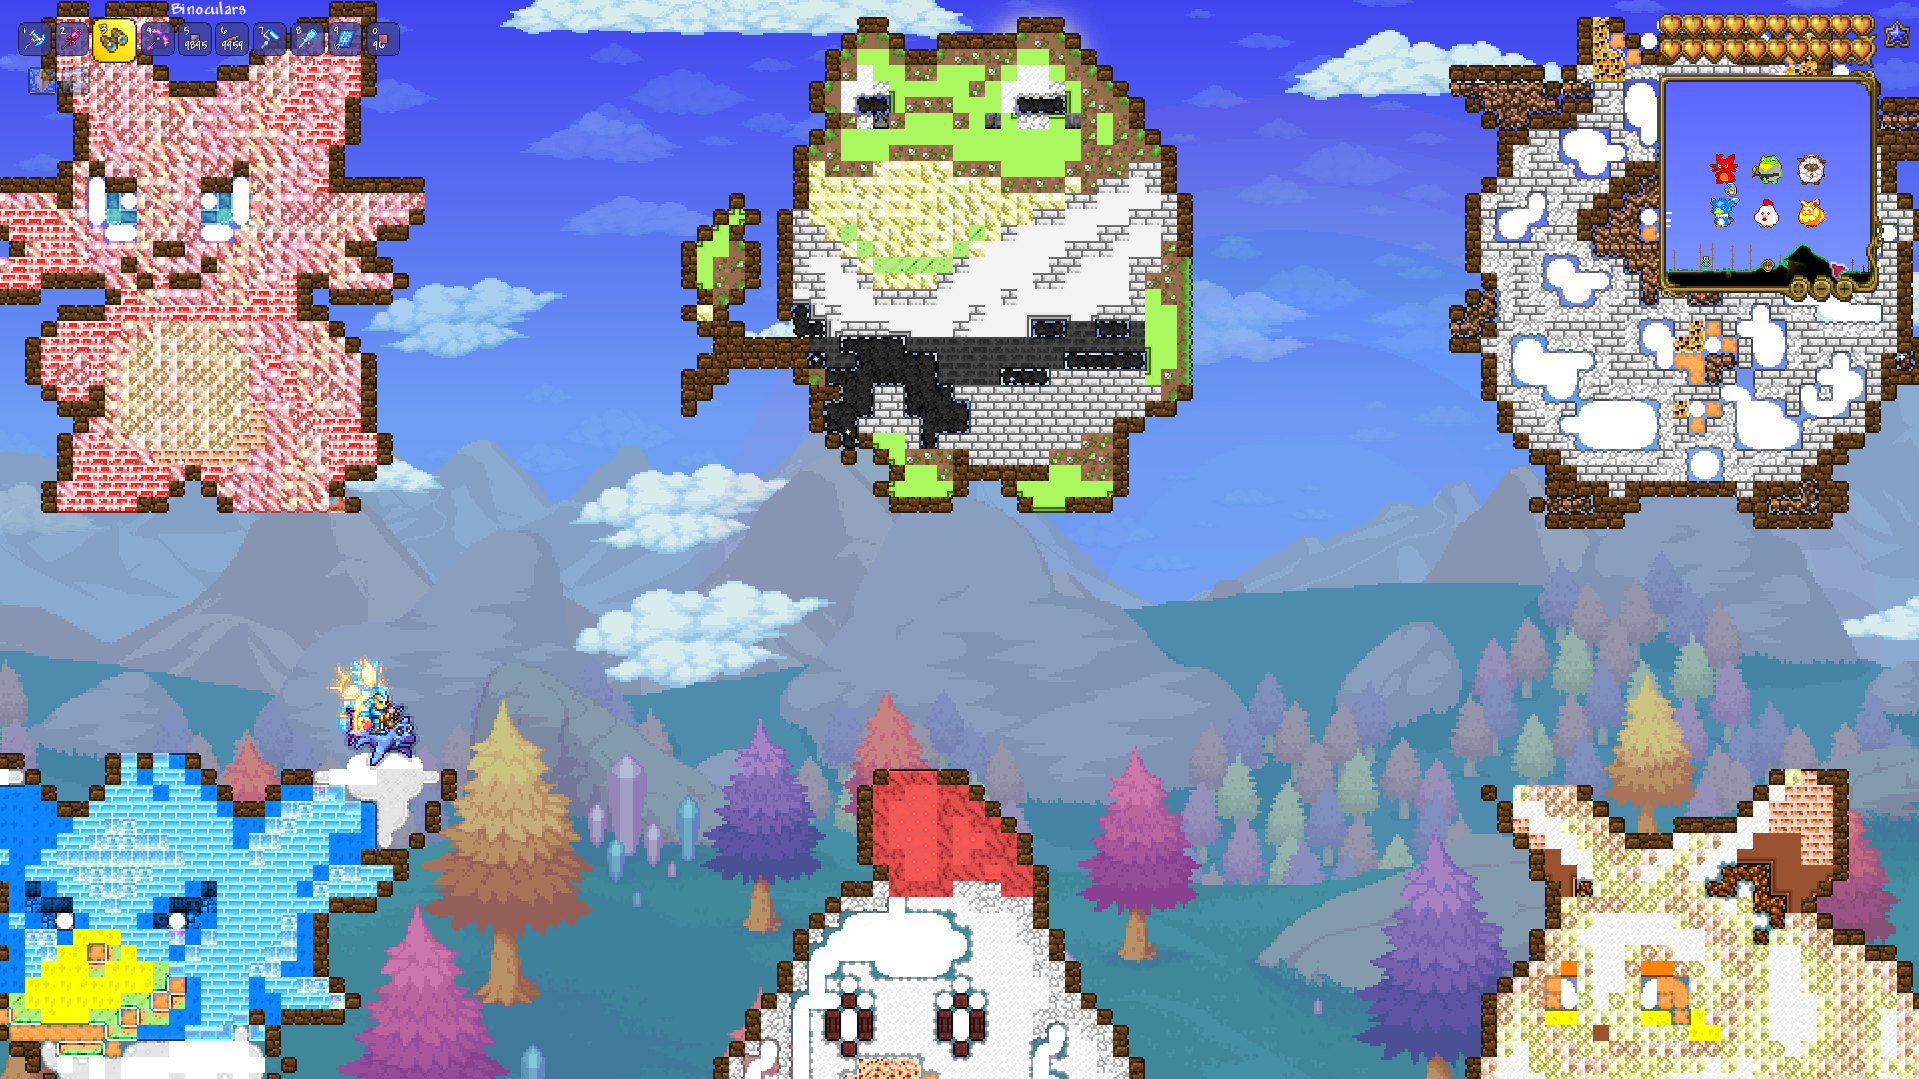
Real Art uses Terraria's paint system as well as the tiles themselves. Combining a suitable solid tile with paint provides more usable colors and keeps the image readable in Real View and during normal gameplay. The result still depends on the tile-and-paint combinations supported by Terraria, so some colors are approximations rather than exact RGB matches.
Enable Real Art before adding the image to the clipboard. It may take a little longer because the tool chooses both a tile and paint for each pixel.
Add a border when the build needs support
Enable Border to place one extra line of solid tiles around the visible parts of the image. Use Border tile to choose the tile used for the outline.
A border makes the silhouette cleaner, but it also supports sand and other gravity-affected tiles so they do not fall when the world is opened in Terraria. Pick a solid border tile that suits the artwork, especially when the converted image contains sand.
Step 4: Add and place the result
The preview shows the converted colors and the number of tiles the build will use.
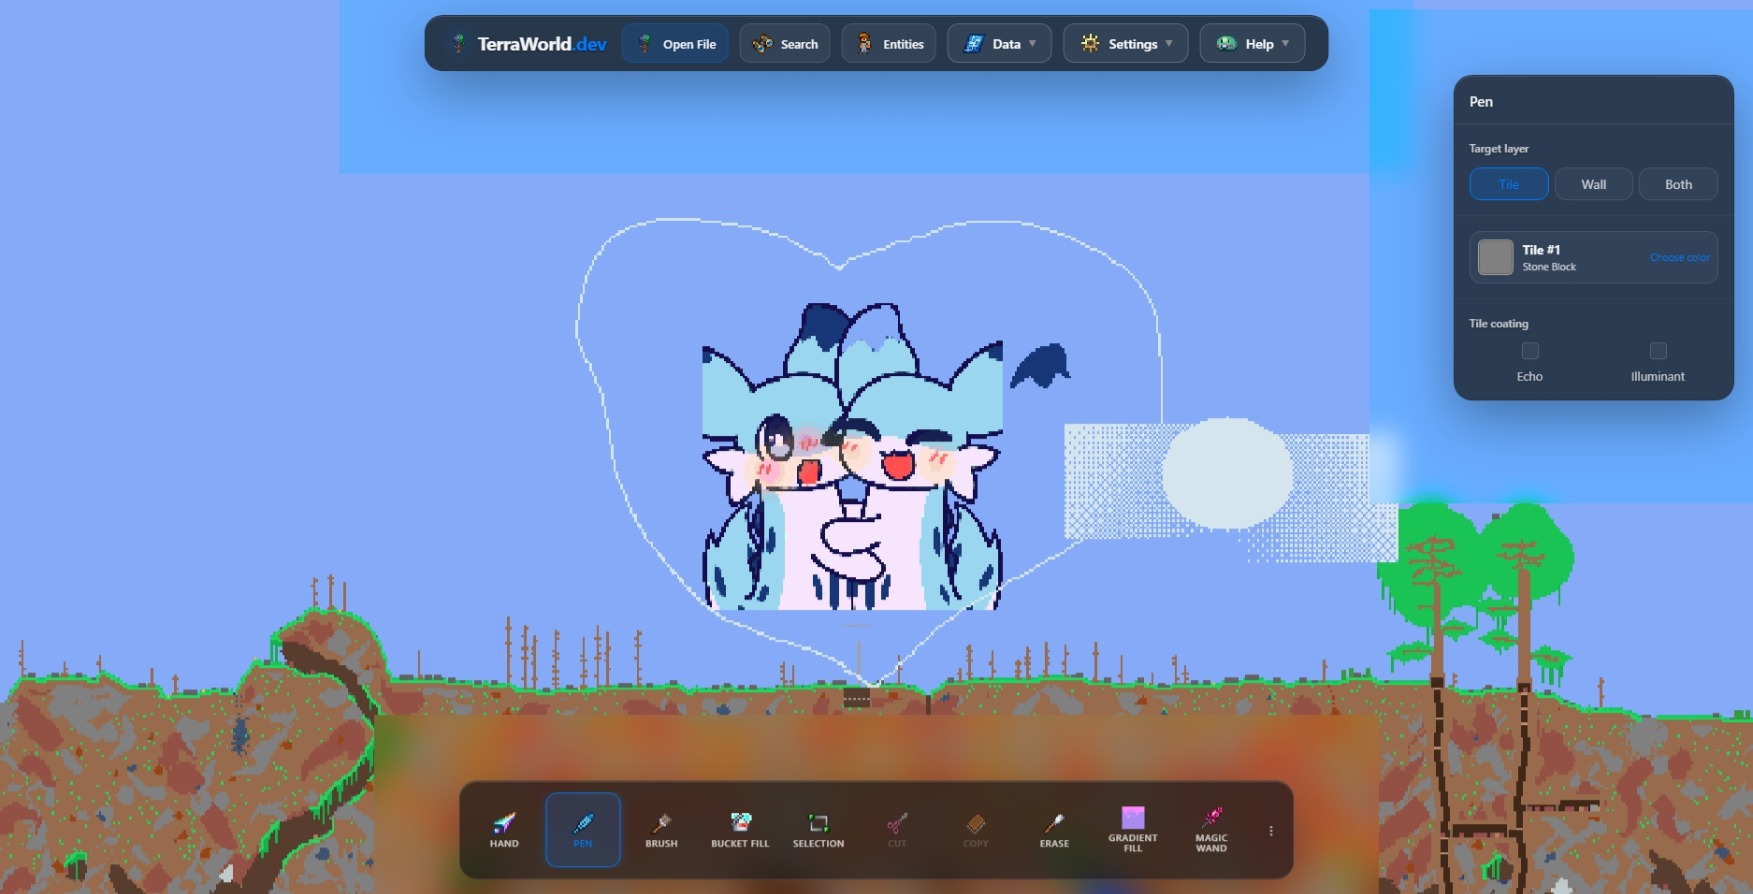
- Add to Clipboard stores the result in the editor clipboard so you can place it later.
- Add & Paste stores the result and immediately switches to the Paste tool.
Move the preview to an empty area, check that it does not overlap an existing structure, then paste it into the world. Save a large edited build as a separate world file first.
Check the artwork in Real View and in Terraria
The regular map view shows the overall image, but not exactly how the tile textures and paint will look in the game. Turn on Real View and zoom in after placing the artwork.
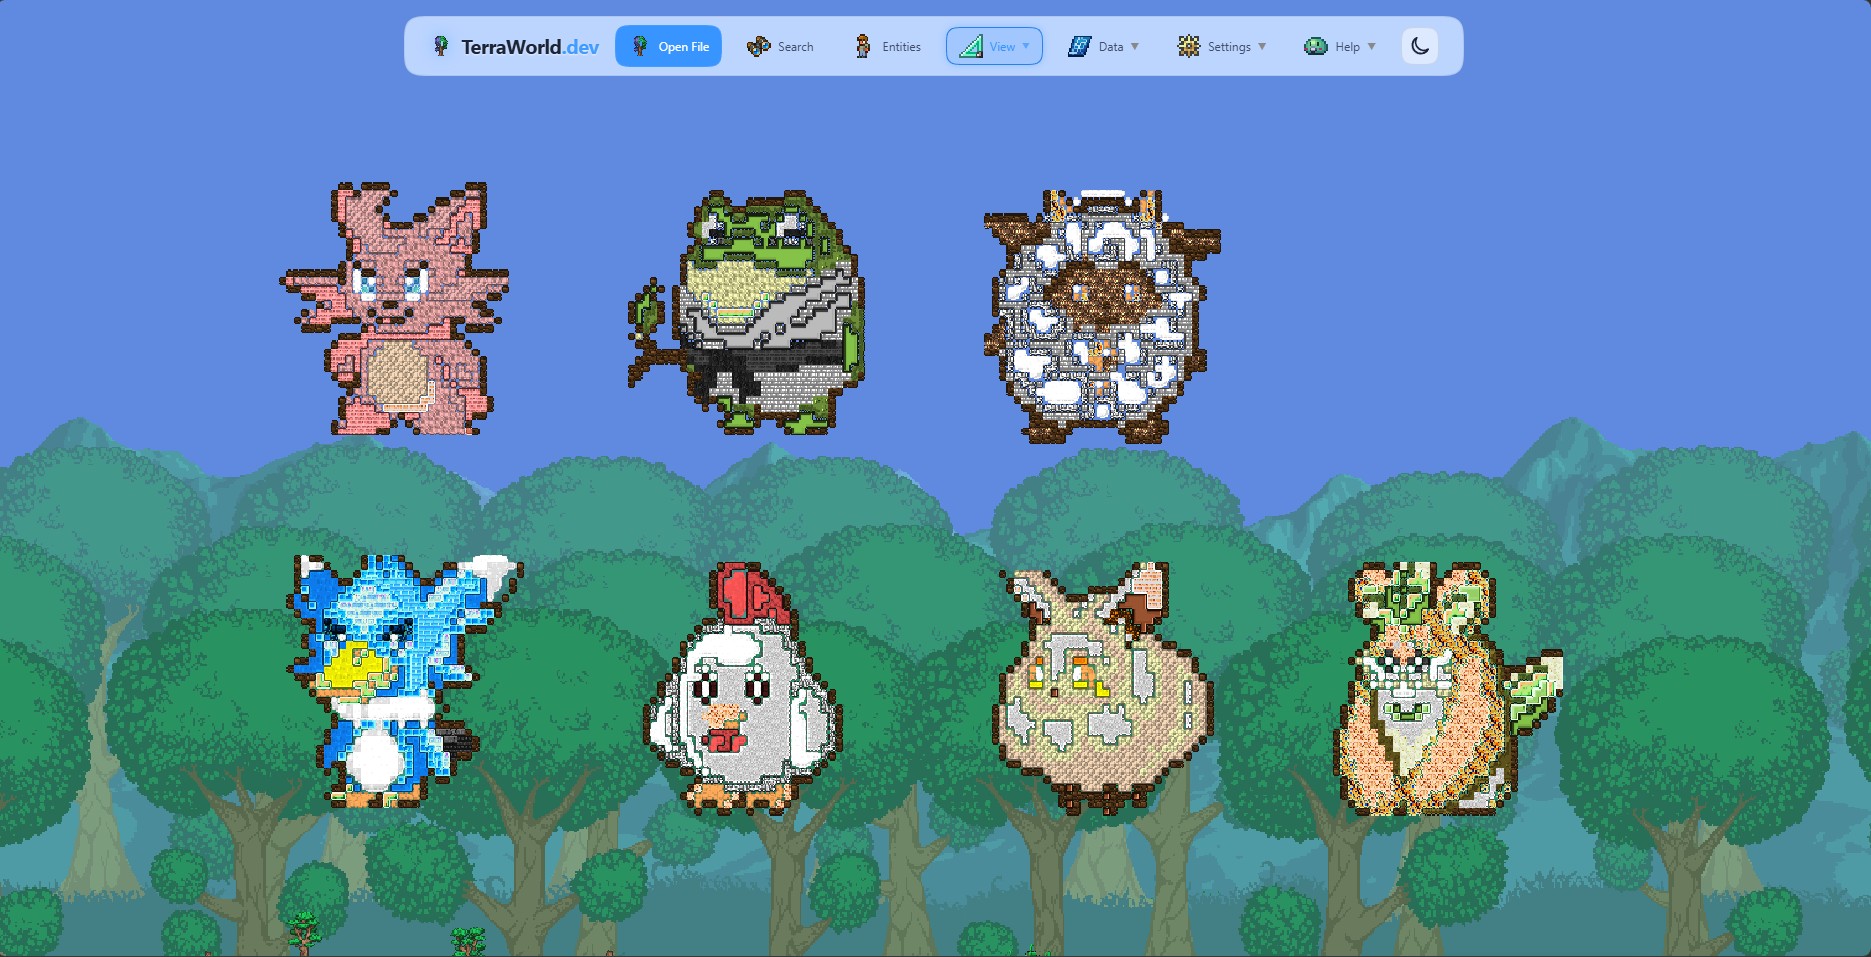
Real View is the quickest way to spot distracting textures, missing paint, or unsupported sand blocks. The final check is to open the edited world in Terraria and look at the build during normal gameplay.
Quick tips
- Test a smaller version before committing to a 256-tile-wide build.
- Use a source with a clear silhouette and remove details that would become noisy single pixels.
- Try both Color and Grayscale when the original palette does not convert cleanly.
- Use Real Art when the build needs to look good in the game, not only on the minimap.
- Add a solid border when the image uses sand or needs a stronger outline.