

Design and Share Terraria Builds with Structure Studio
Design Terraria structures on a dedicated canvas, work safely with layers, and export an open .twpack package that can be shared, placed in a world, or supported by a mod.

I originally built Structure Studio to solve a simple problem: a Terraria build should not have to remain trapped inside one world. A house, a frame machine, a piece of pixel art, or a small decoration should be something you can save on its own, improve later, and share with somebody else.
There are two ways to use it. In the map viewer, Structure Studio moves builds between a world and a package. The dedicated Structure Studio page is where you can design a build from scratch without loading a world at all.
Structure Studio in the map editor
When a build already exists in a world, load that world, enable Edit Mode, and select the complete build. Open the Structure Studio tool to turn that selection into a .twpack package. This is the route to use when you want to extract a house, arena, mechanism, or decoration from an existing map.
The same tool works in the other direction. Open a package, inspect its size and placement settings, add it to the clipboard, then use Paste to place it in the current map. Back up the destination .wld before pasting a large or unfamiliar package.
The dedicated page is a workshop, not a map viewer
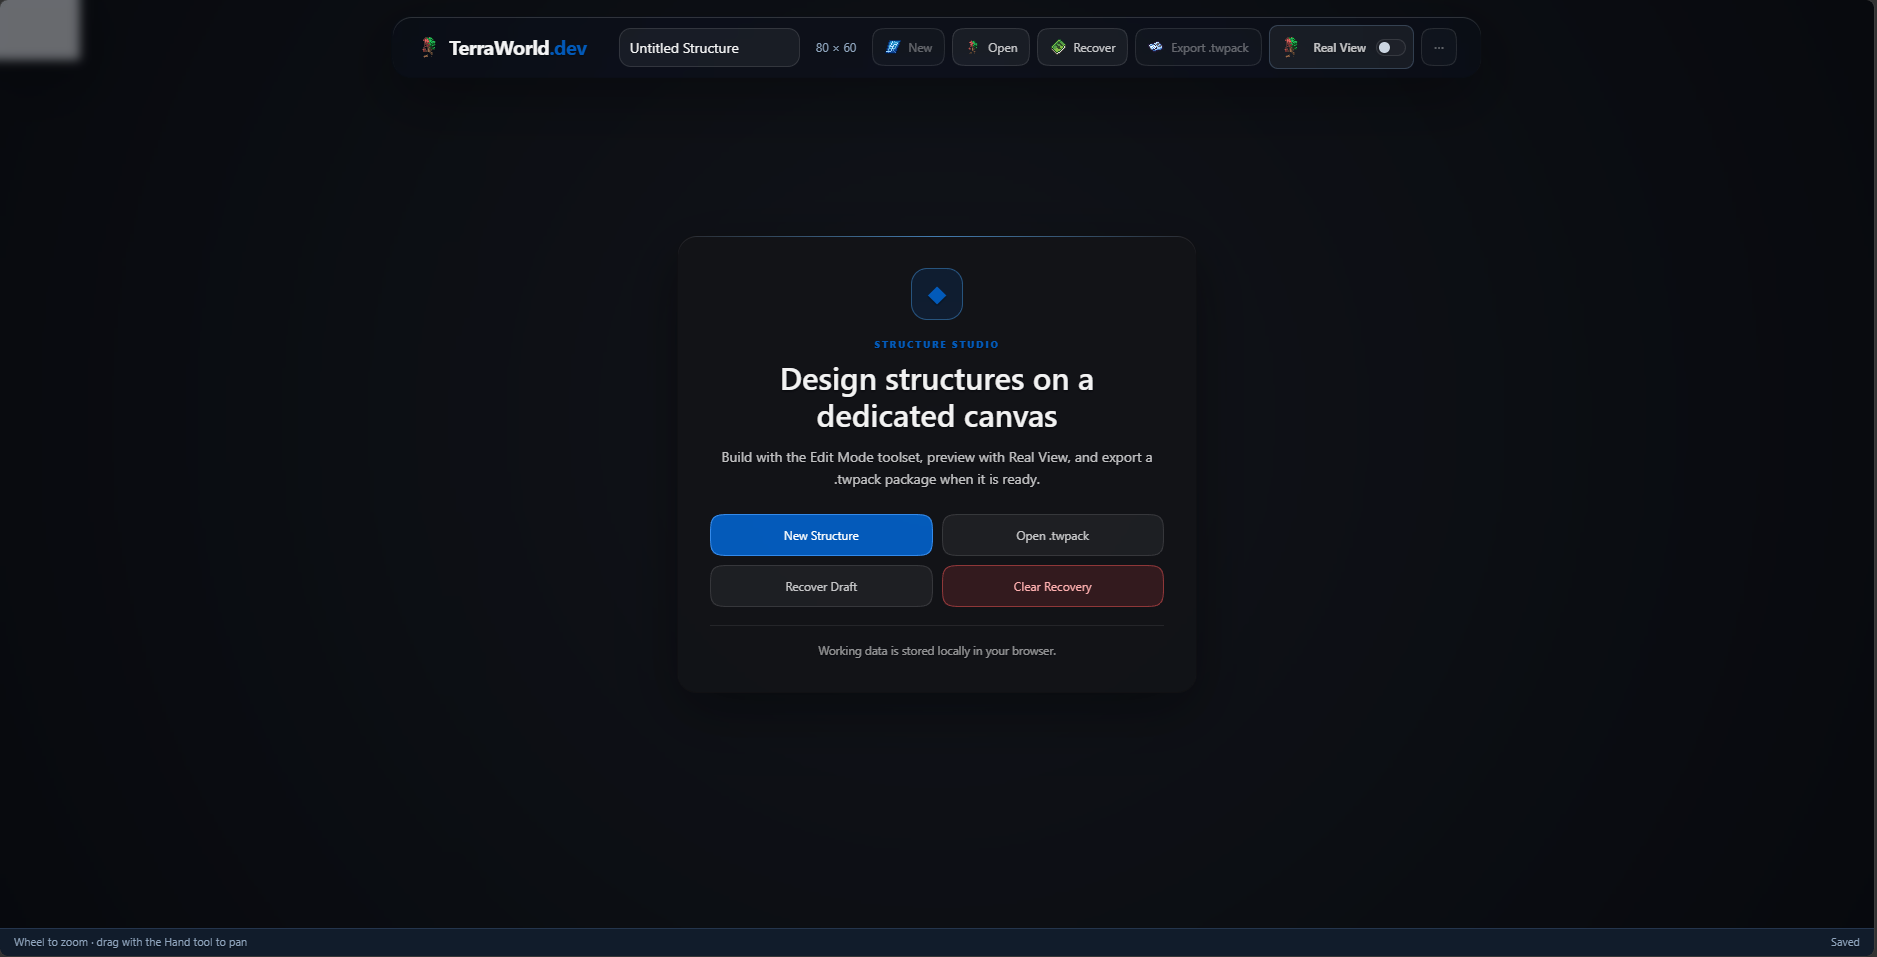
The standalone page does not ask for a world file. It opens a small document containing only the area you intend to build. That makes it quicker to start, easier to navigate, and much less distracting than working in the middle of a full map.
I use this page for builds that need several passes: house shells, furniture sets, wiring layouts, frame machines, signs, pixel art, and reusable pieces of biome decoration. A very large canvas can still consume plenty of memory, but for normal structures the focused document is noticeably easier to work with than a whole world.
Create a blank structure
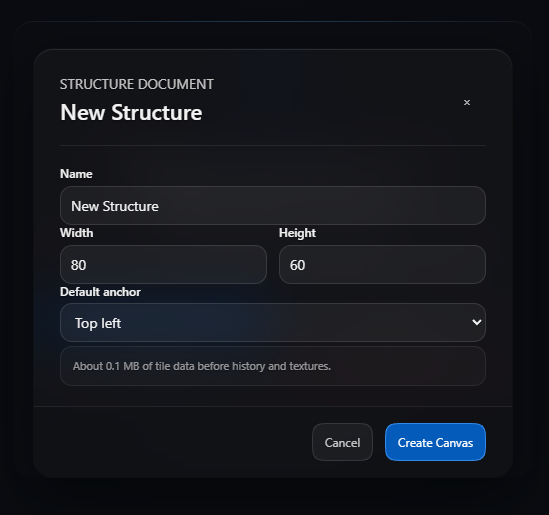
- Choose New Structure.
- Give the build a useful name. This name is also used when the package is exported.
- Set the width and height in Terraria tiles. Leave enough empty space around mechanisms and objects with large frames.
- Choose an anchor. Bottom center is convenient for houses, while Center works well for artwork.
- Check the memory estimate, then choose Create Canvas.
The canvas size is part of the structure. Do not create a giant canvas merely to gain working room: all those cells have a memory cost and become part of the package dimensions.
The Edit Mode tools, without the world
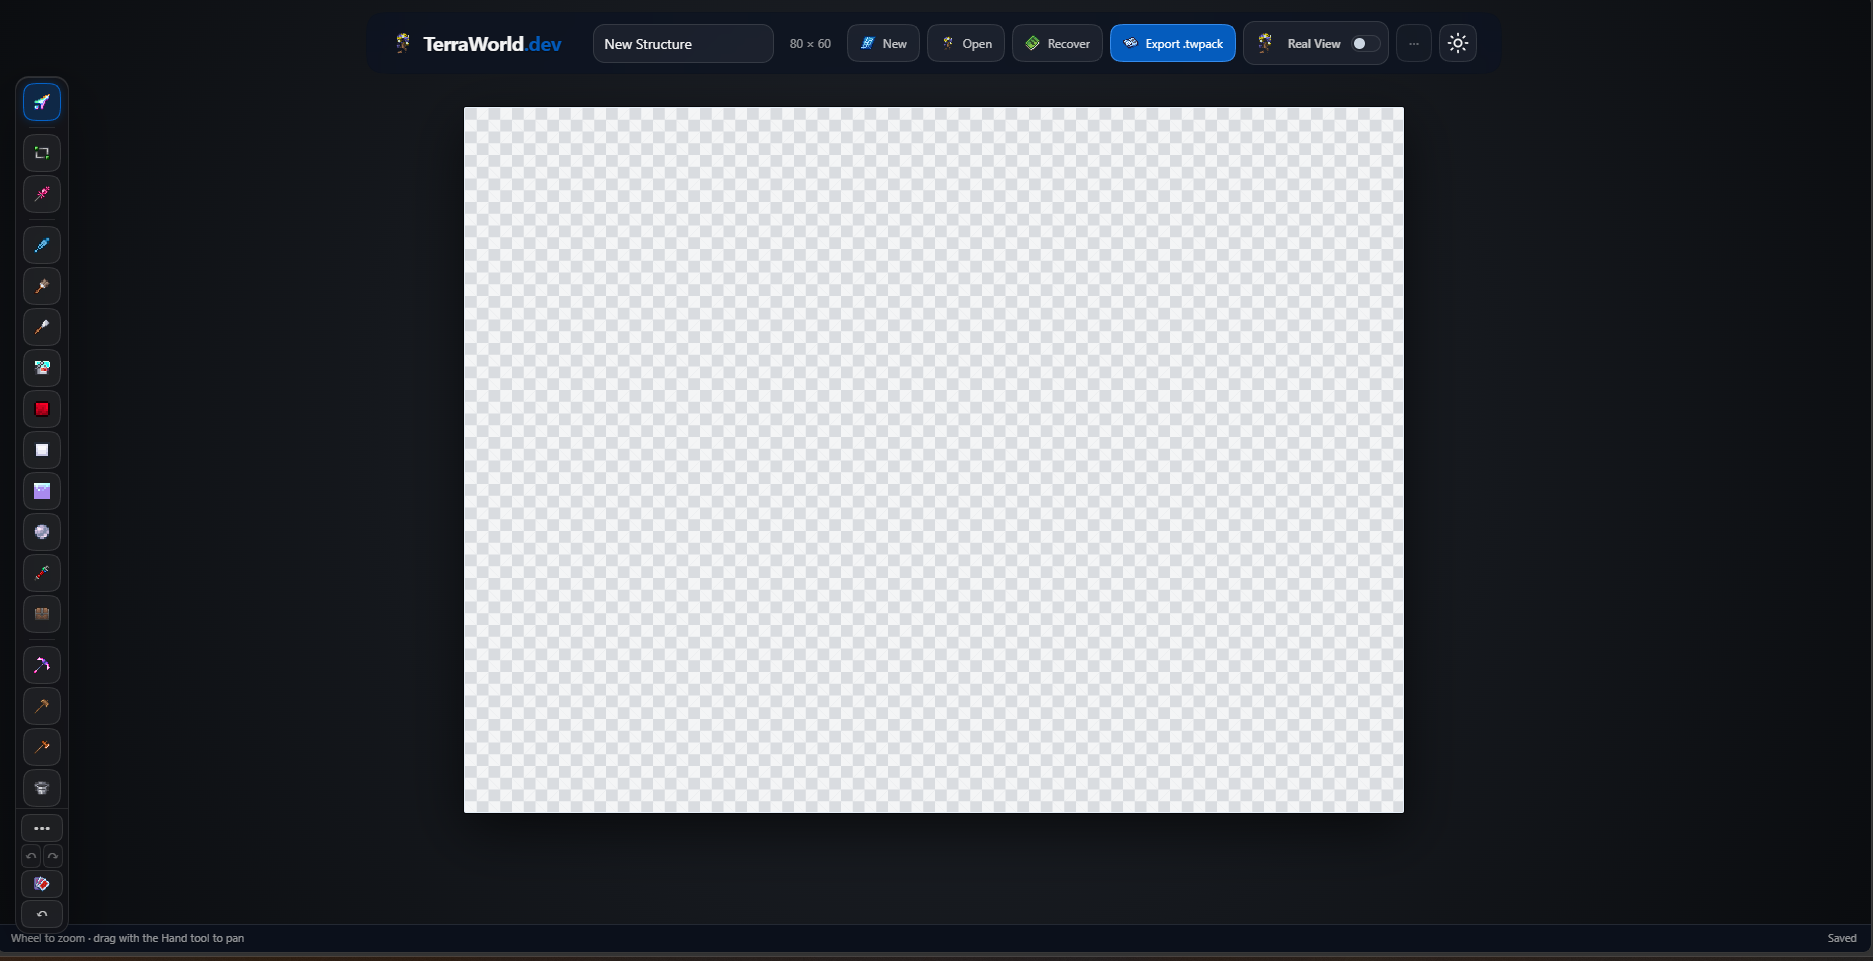
The tool rail should feel familiar if you have edited a map before. Pen, Brush, Eraser, Fill, shapes, Selection, Paste, Replace, Pixel Art, object placement, wiring tools, Undo, and History all use the same editing system as Edit Mode.
Not every world-only command belongs here. World Properties, for example, makes no sense when there is no world header to edit. Structure Studio therefore shows the Edit Mode tools that support a structure document rather than pretending that every world command is available.
Layers change the way a Terraria structure is edited
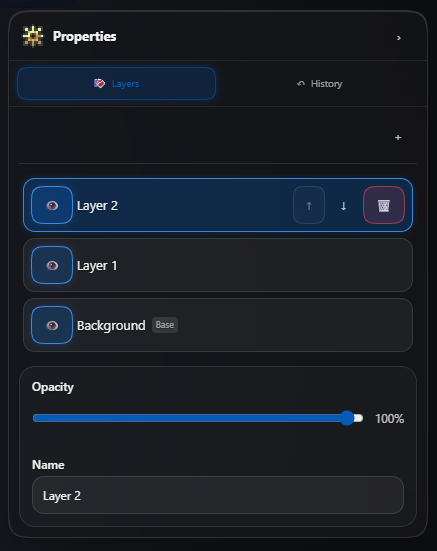
This is the part I find most useful. Instead of committing every change directly to one surface, you can split the build into layers. For a house, I might keep the shell on one layer, furniture on another, and wiring on a third. For pixel art, I can separate the image, its border, and any support blocks.
A layer can be selected, renamed, hidden, reordered, or displayed with lower opacity. Drawing, erasing, and moving content on the active layer does not directly rewrite the content stored on another layer. If wiring blocks the view, hide that layer for a moment. If a decoration is in the wrong place, move its layer without rebuilding the wall behind it.
There is one important limitation: layers are a design aid inside the editor. During export, the visible layers are flattened into the final structure data. The current .twpack format does not preserve an editable layer stack like a Photoshop document. Hidden layers are not included in that flattened result.
A practical example: making pixel art
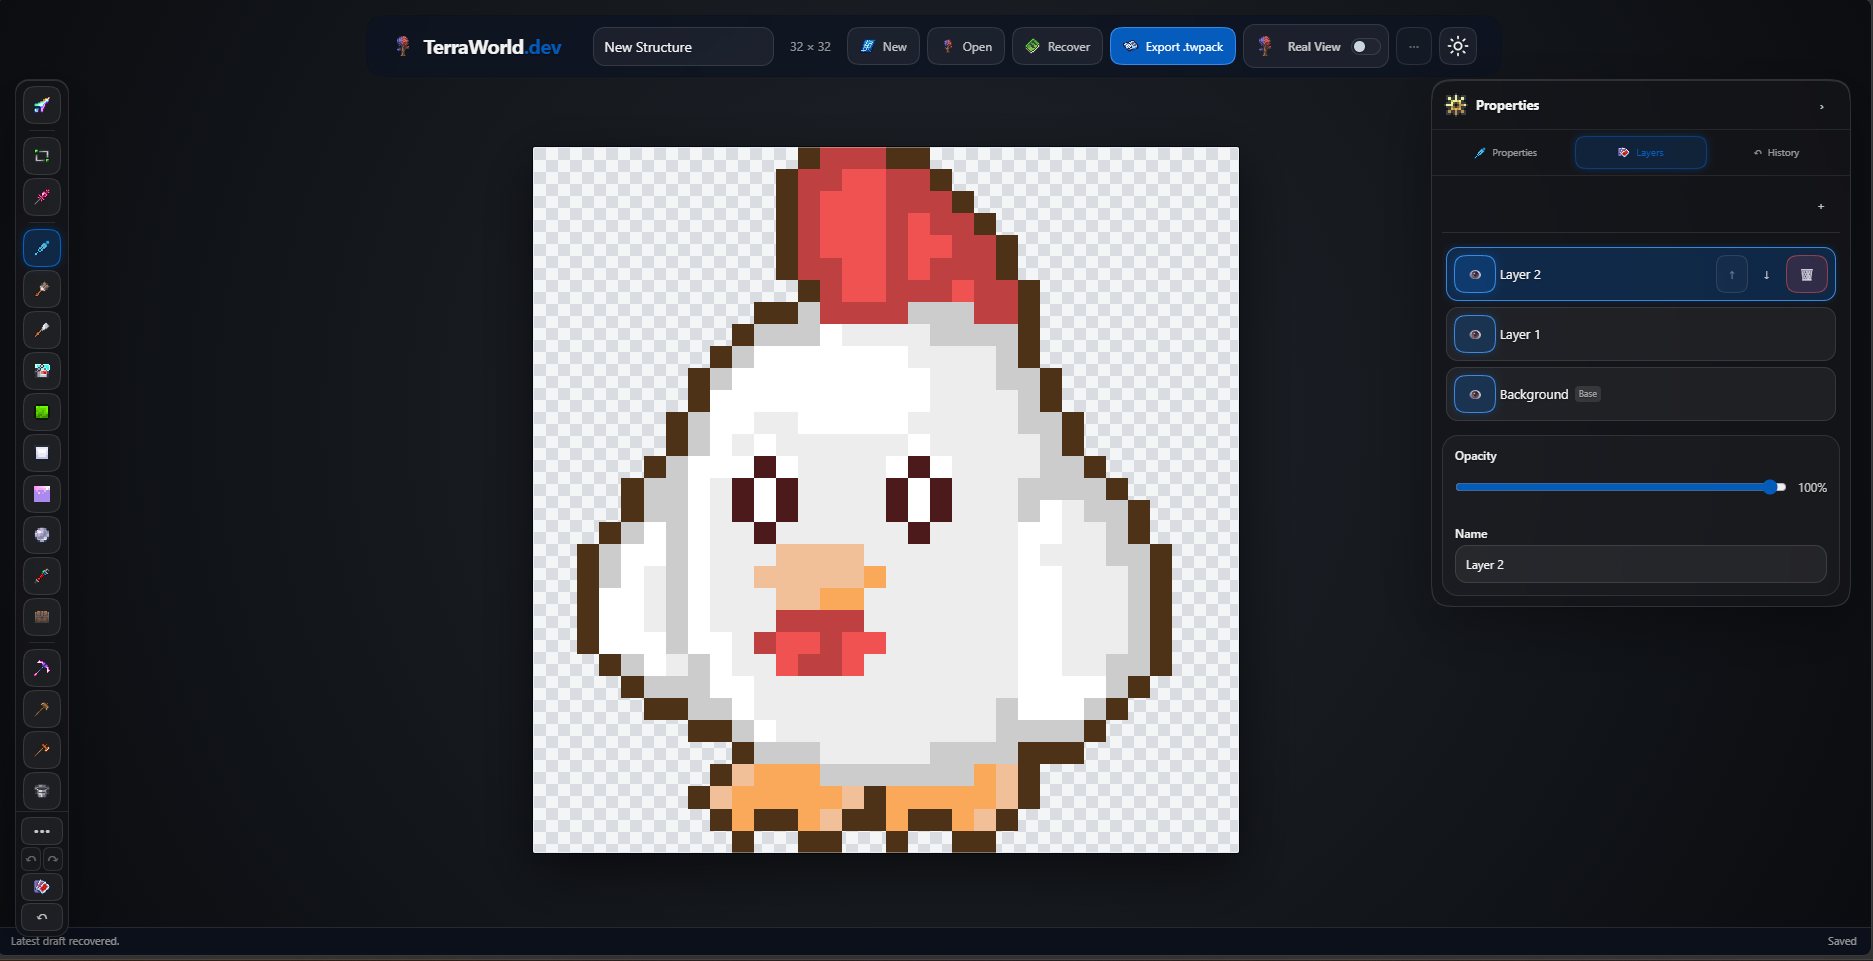
You can run the Pixel Art tool directly on the structure canvas, then clean the result with Pen, Eraser, Replace, and Selection. Keeping the generated image on its own layer makes experiments less risky: duplicate an idea on another layer, change the outline, or try a different set of support blocks without damaging the rest of the document.
The same approach works for frame machines. Separate the visible shell from wires, actuators, and functional objects. You can then inspect each system on its own instead of trying to read everything at once.
Check the build with Real View
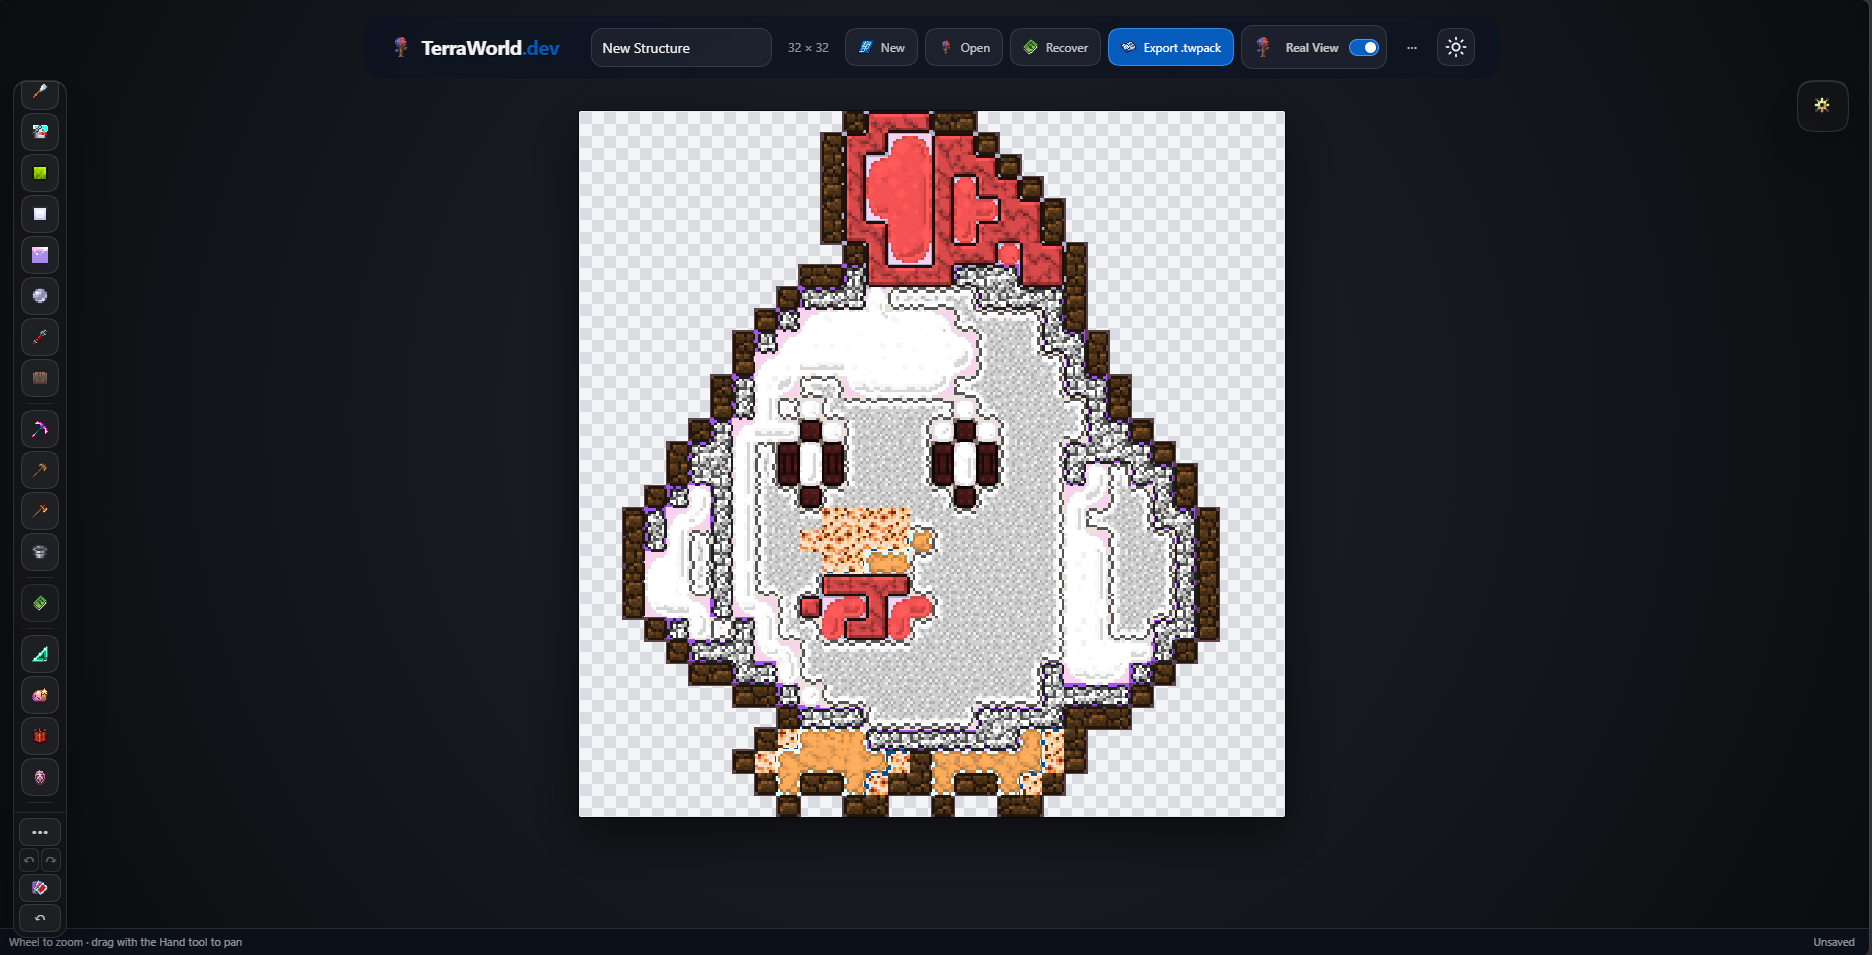
The normal canvas is best for precise editing. Real View answers a different question: what will these tiles actually look like in Terraria? Turn it on to check texture noise, paint, liquids, animated objects, and multi-tile frames. I recommend switching between both views rather than designing only from the minimap colors.
Export, store, and reuse the build
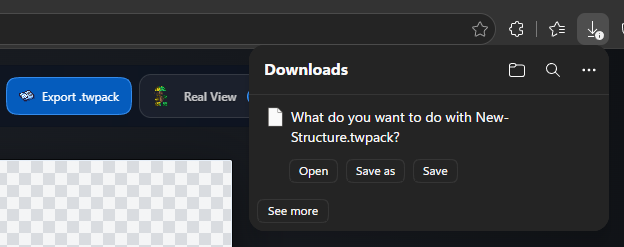
Choose Export .twpack when the structure is ready. Keep the file as part of a personal build library, send it to another player, or open it from Structure Studio in the map editor and paste it into a world.
The browser also keeps a local recovery draft. That is useful after an accidental reload, but it is not a replacement for exporting. Browser storage can be cleared, and a recovery draft is not a shareable file.
The .twpack format
The rest of this article is a technical reference for tool and mod developers. .twpack is an interchange format, not a file locked to TerraWorld.dev. You are encouraged to read it, create it, convert it, and support it in a Terraria mod. A package should be identified by its manifest fields, not by its filename extension alone.
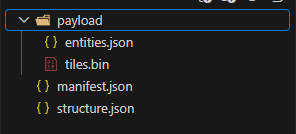
Archive layout
example.twpack
├── manifest.json
├── structure.json
└── payload/
    ├── tiles.bin
    └── entities.json
The current writer creates a standard ZIP archive using method 0 (STORE). Entries are stored without Deflate compression. The current TerraWorld reader rejects compressed entries, absolute paths, paths beginning with a backslash, and paths containing ...
manifest.json
{
  "format": "terraworld-data-package",
  "schemaVersion": 1,
  "kind": "structure",
  "name": "Example Structure",
  "createdAt": 1780000000000,
  "files": {
    "structure": "structure.json",
    "tiles": "payload/tiles.bin",
    "entities": "payload/entities.json"
  }
}format, schemaVersion, and kind are the compatibility gate. For the current format they must be terraworld-data-package, 1, and structure. createdAt is a Unix timestamp in milliseconds. Consumers should follow the paths declared in files instead of assuming fixed payload names.
structure.json and entities.json
structure.json stores name, description, width, height, source, placement settings, and the boolean filters tiles, walls, liquids, entities, wires, and coatings.
payload/entities.json stores the arrays chests, signs, tileEntities, and modChests, plus optional validationHints. A reader should accept missing optional arrays as empty and avoid discarding unknown JSON fields if it intends to support lossless round trips.
Binary tile payload
payload/tiles.bin is little-endian. It begins with a 12-byte header followed by fixed 28-byte records.
| Offset | Type | Value |
|---|---|---|
| 0 | 4 bytes | Magic TWST |
| 4 | uint16 | Binary version, currently 1 |
| 6 | uint16 | Record size, currently 28 |
| 8 | uint32 | Record count |
| Record offset | Type | Field |
|---|---|---|
| 0 | uint32 | Relative X |
| 4 | uint32 | Relative Y |
| 8 | uint16 | Tile type |
| 10 | uint16 | Wall type |
| 12 | int16 | Frame U |
| 14 | int16 | Frame V |
| 16 | uint8 | Liquid amount |
| 17 | uint8 | Liquid type |
| 18 | uint8 | Wire bit mask |
| 19 | uint8 | Tile paint |
| 20 | uint8 | Wall paint |
| 21 | uint8 | Brick style |
| 22 | uint16 | Flags |
| 24 | 4 bytes | Reserved, currently zero |
The flag bits are: bit 0 active tile, bit 1 actuator, bit 2 inactive, bit 3 invisible block, bit 4 invisible wall, bit 5 full-bright block, and bit 6 full-bright wall. Wire bits follow the order red, blue, green, yellow from bit 0 to bit 3.
Unpack and repack
- Open the
.twpackas a ZIP archive, or temporarily rename it to.zip. - Read
manifest.jsonfirst and validate the format identifiers. - Read metadata and payload files using the paths from the manifest.
- When rebuilding the archive, place the files at its root, use UTF-8 names, ZIP STORE, and a valid CRC32 for every entry.
- Do not wrap the files in an extra parent folder. Rename the completed archive to
.twpack.
Validation limits in TerraWorld
- Archive size: at most 64 MiB.
- Width and height: positive integers, no more than 100,000 each.
- Total tile cells: at most 10,000,000.
- Every record coordinate must fit inside the declared dimensions.
- The binary magic, version, record size, payload length, and ZIP CRC32 must match.
A mod importer should validate before touching a world. It should also check whether tile, wall, item, and entity IDs make sense for the running Terraria or tModLoader version. For best forward compatibility, reject an unsupported schema version cleanly, tolerate unknown JSON fields, and test packages in both directions between the mod and TerraWorld.