

How to Export and Share Your Terraria World Map
Export the current map view or a complete Terraria world map as a PNG or SVG file from TerraWorld.

Choose the right export for your purpose
TerraWorld can export either the part of the map you are currently viewing or the complete world map. A smaller viewport export is useful for a quick screenshot or guide illustration. A full export is better when you need the overall map at one tile per pixel. Exporting an image does not change your .wld or .twld file.
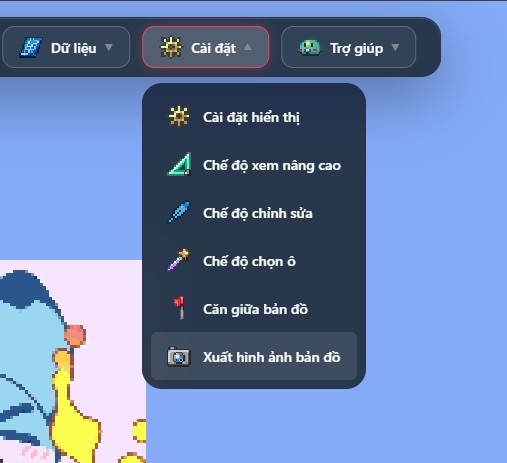
Step 1: Load and frame the map
Open your local world in TerraWorld Editor and wait until the map finishes loading. For a Fast export, pan and zoom until the viewport contains exactly the area you want to share.
Step 2: Open Export Image
Open the app menu and choose Export Map Image. The dialog lets you choose an export mode and format before creating the file.
Step 3: Select an export mode
- Fast Export: exports the current viewport. Use this for a focused structure, base, route, or troubleshooting image.
- Full Export: renders the complete map at one tile per pixel. This may take longer on large worlds, so keep the browser open until it finishes.
Step 4: Select PNG or SVG
- PNG: a raster image that works well for chat, social posts, and most image editors.
- SVG: a vector format that can be useful in tools that support SVG workflows.
Choose the format, then select Export as PNG or Export as SVG. TerraWorld downloads the image using the world title when it is available.
Check the downloaded file
Open the export before sharing it. Verify that the intended region is visible, labels or overlays are appropriate for your audience, and the filename is recognizable. For a full map, consider sharing a compressed copy if the image is large.
Related workflows
Inspect the relevant map area before exporting it, or create a visual build plan with the pixel-art guide.